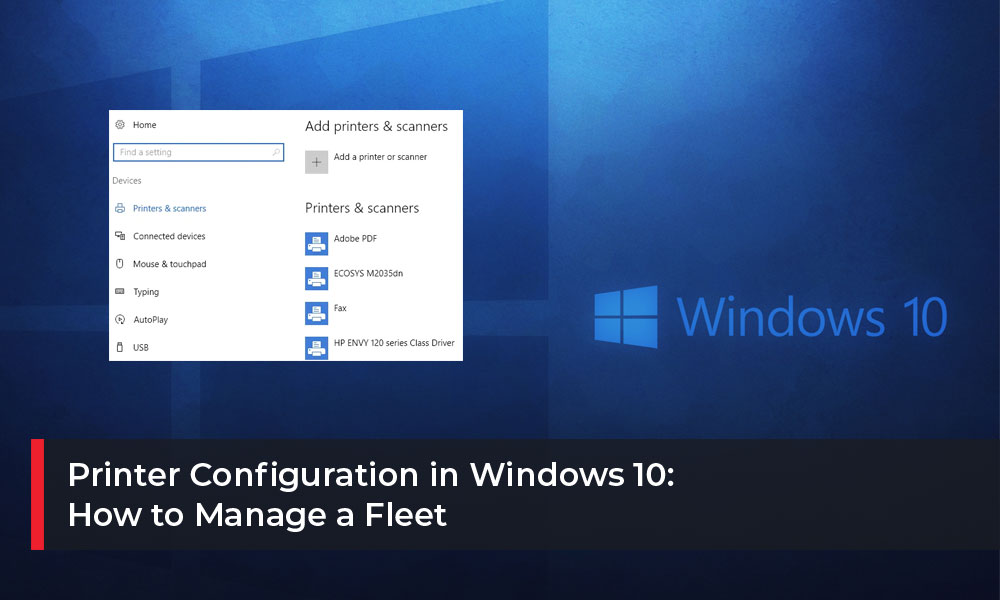
Keeping printers running efficiently is no small task. The more printers and users there are the more settings required to keep the entire fleet optimized. Fortunately, Microsoft has provided all the tools that network administrators need when managing a printer fleet. With an intuitive interface and simplified controls, printer configuration in Windows 10 is easier than ever.
5 Convenient Actions for Printer Configuration in Windows 10
Microsoft has made printer configuration in Windows 10 seamless. Here are the five most useful actions a network administrator needs to take to configure printers in Windows 10.
Here’s how to manage a fleet in five easy steps.
1. Add a Printer with the Windows Printer Wizard
Want to know how to connect a printer in Windows 10? It’s easy, and it requires just four simple steps – Windows does all the heavy lifting. The printer may be either directly connected to the computer or wireless. Before you begin, make sure the device is on, and connectivity is enabled.
1. Click the Start Button in the bottom left corner of the desktop, then click the Settings gear above the Power button.
2. From the Settings panel, click Devices. Then, choose Printers & Scanners on the left navigation pane.
3. Click Add a printer or scanner. Windows will automatically search for devices on the network or connected to the computer. Most of the time, Windows will find the device. If it doesn’t, add it manually.
4. Select the printer to be added and click Add device. Windows will do the rest.
2. Change Printing Preferences
Printing preferences determine how all jobs are printed from a particular computer. For example, printing preferences can be set to disallow color printing or to print in draft mode for some jobs to save toner, but high-quality mode for others that require a more professional presentation. To change the printing preferences on a computer:
1. Navigate to the Settings interface, then choose Devices.
2. Select Printers & Scanners. Find the device and click Manage.
3. Select Printing preferences from the options. Change the desired preferences here. These will affect all jobs sent to this printer.
3. Adjust Printer Device Settings
Printer device settings involve information about the printers, such as its name, whether or not it’s the default printer, and what drivers it’s using. Unlike printing preferences, which only affect the computer, some of the printer’s device settings, like its name, will be visible across the network. To adjust these settings:
1. Click on the Start button, then type Control Panel. Choose the app that appears.
2. Select View devices and printers under Hardware and Sound.
3. Right-click on the printer and choose Properties.
The Set as default printer option is also located on the menu that appears on the right-click. Checking this option means that all programs will automatically select this printer during printing unless it’s manually changed in the program.
4. Manage the Print Queue
The print queue is the list of print jobs that are “inline” to be printed. Jobs are sent here instead of directly to the printer to avoid it from becoming overwhelmed. At times, it may become necessary to pause the print queue or delete individual print jobs from it. To manage the print queue:
1. Navigate to the Settings interface, then choose Devices.
2. Select Printers & Scanners. Under the tab, find the device.
3. Select Open Queue. To pause, restart, or cancel a print job, right-click on the specific job for a menu.
Alternatively, it’s possible to access the Print Queue from the right-click menu in the Control Panel above. Here, the Print Queue option is labeled. See what’s printing.
5. Troubleshoot a Printer
Printer problems are a fact of office life, but they don’t have to disrupt the workflow. If a printer is unresponsive, won’t print, or is creating an error on the computer, it’s time to run some diagnostics. Troubleshoot many simple issues that lead to printer problems by doing the following:
1. Navigate to the Settings interface, then choose Devices.
2. Select Printers & Scanners. Under the tab, find the device.
3. Click Manage under the device, then Run Troubleshooter. This wizard will walk the user through identifying the source of the printer’s problem.
Get the Right Printer Configuration in Windows 10 With DSI
The best printer for an office is the one that’s set up and configured correctly. Having the right settings matters almost as much as having the right printer. Proper printer configuration is essential to an efficient, optimized workplace. Thanks to Microsoft, printer configuration in Windows 10 is easier than ever. Everything needed to optimize settings and profiles is available in one easy interface. These five easy actions are the basis for any printer configuration setting. Go forth, configure your printers, and enjoy the newfound efficiency.
DSI helps companies achieve operational efficiency through the correct deployment of technology. Contact us now to discuss the challenges you have with your printer fleet.

